
INTERNET!!!!!!!!!
Yah.
So yeah. I'm going to do a little tutorial incase the future me forgot how to do it.
It's a "How-to-colour-flash-photographed-drawings" tutorial.
I'll be using a simple drawing for this tutorial:
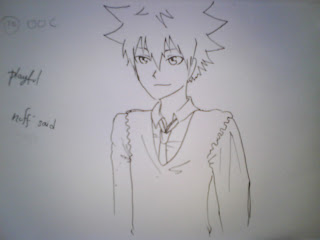
Sawada Tsunayoshi looking OOC
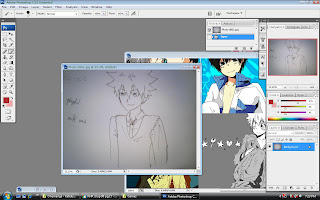
First is to open it in photoshop lol.
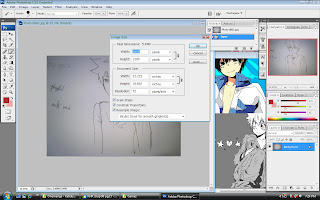
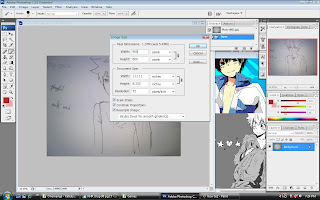
Second, I resized the image from 1600X1200 to 800X600.
This is just for the lulz as I don't want too much data for a rather empty drawing
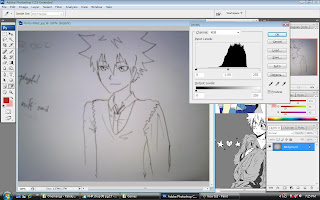
Then, I change the level(ctrl+l) so that the outline is more darker and the background is more brighter. It'll turn out like something below. It comes in handy for the wand tool.
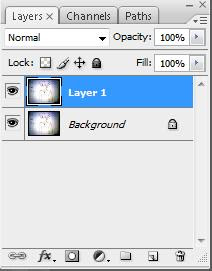
For some reason, I like to work on a new layer and leave the background layer untouched incase I do something wrong with the new layer.
So here, I duplicate the background and select the new layer.
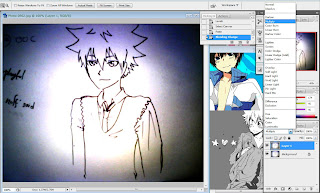
With the new layer, from the blending menu, choose 'Multiply' and you'll notice the picture darkening.
This helps when colouring as the lineart will seem untouched later when colouring.
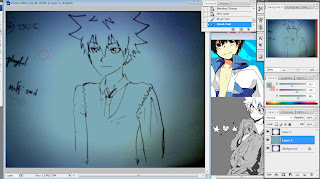
Insert a new layer beneath the lineart layer and colour it with any colour of your choice. It doesn't matter what as this layer is just to help act as a new background for erasing the flash effects on the picture.
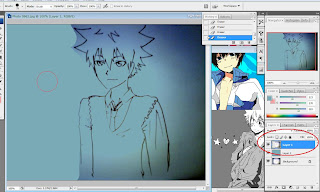
Now, for the erasing part, select the lineart layer.
I use the erasing tool to well, erase all the unneeded dark lines

For erasing, there are 2 options. One, is the eraser tool. Two, is the combination of the wand tool and the eraser tool.
Below is the demonstration of both tools:
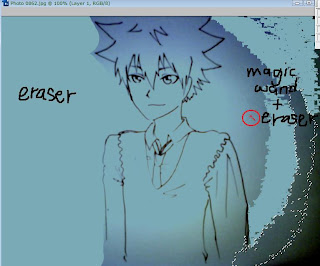
Using both techniques is better because certain lines are too hard for the wand tool to distinguish.
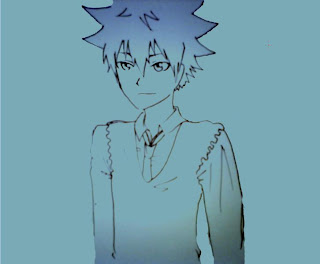
This is the end product.
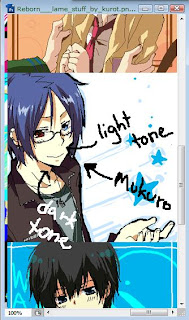
For colouring, have a reference picture near.
For this picture, I used Mukuro for the skin colour. Notice that I pointed out the dark and light tone.
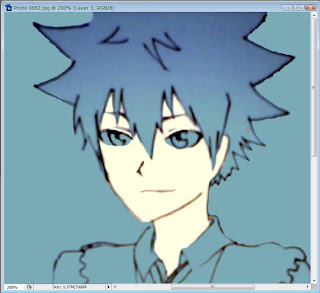
For the skin base, I use the light tone.
Under the lineart layer, I made a new layer for the skin colouring.
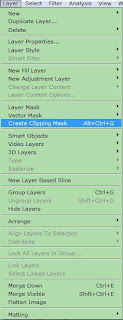
for the dark tone, first I make a new layer. After that, I change it into a clipping mask.
From the menu bar: Layer -> create clipping mask(alt+ctrl+g)
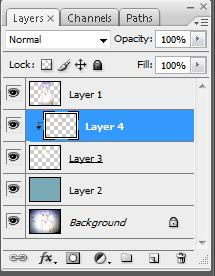
the layer will look like this
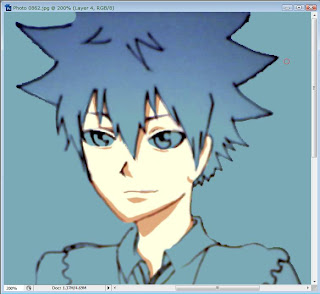
From there, it's much easier to colour the dark tones as it won't run outside of the light tone's territory.
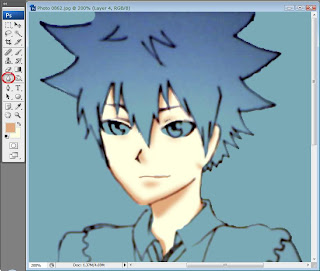
After that, I blur it for the lulz.
Like, seriously.
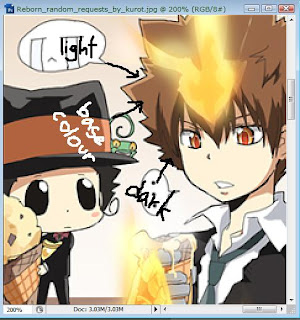
For the hair, the same process is repeated. Only this time, I use Tsuna.
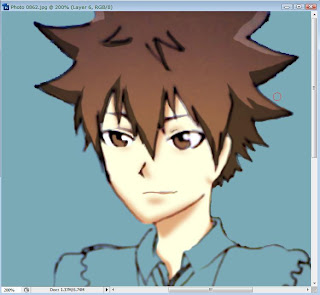
End process of fixing up the hair.
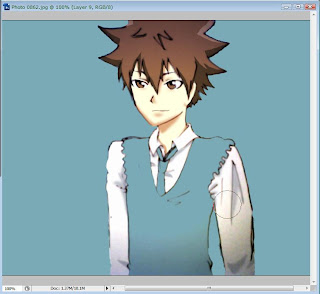
Now the sleeves
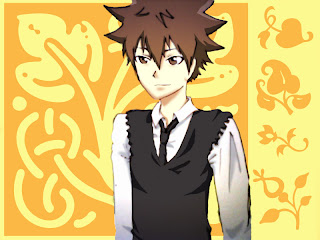
This is the final product . Pretty average but I like how it turned out. As for the floral decoration in the background, it's from the freestyle symbols.
I think
.
.
.
.
.
My first tutorial. Yay.



1 thoughts:
wah!!!! I should try it someday...
It looked interesting...
It turned out beautiful and colorful...
U should do this kind of tutorial more often...
:) Smile Always
Post a Comment